
Features
Targeting: Pages
Page targeting allows you to specify which pages the Shipping Bar will or will not be displayed on.
By default, the bar will display on all pages in your store (except the checkout pages). With the several targeting options below, you can select whether to include or exclude the bar on certain pages.

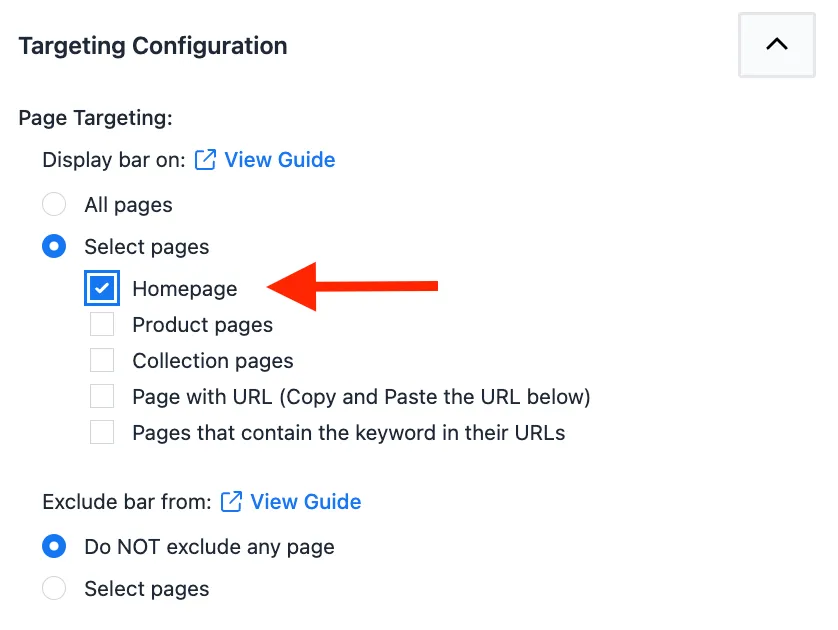
Homepage
If you want the Shipping Bar to be displayed on your store’s Homepage and not on other pages, you can select the “Homepage” option under the Display bar on:
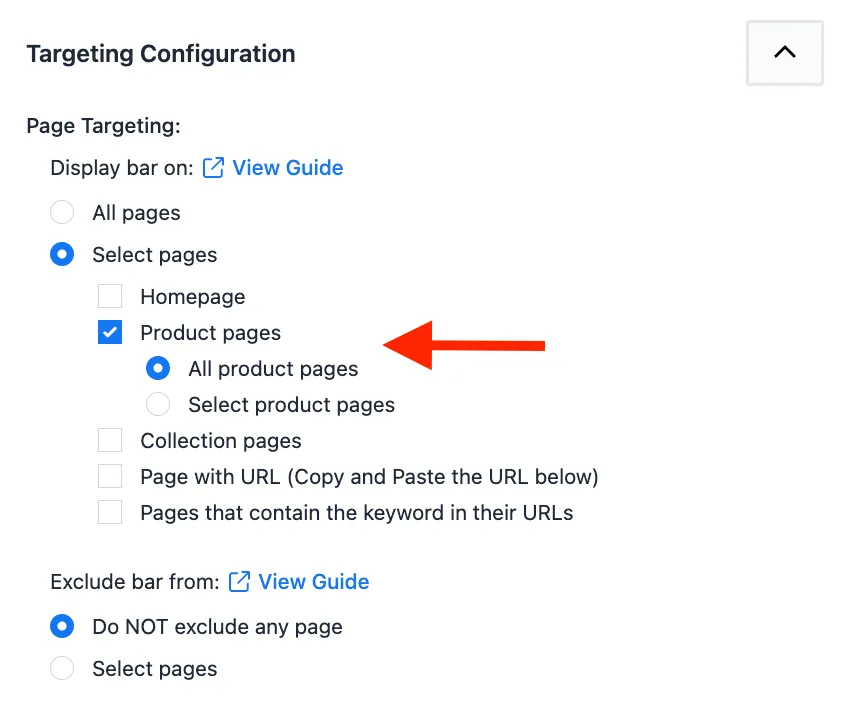
Product pages
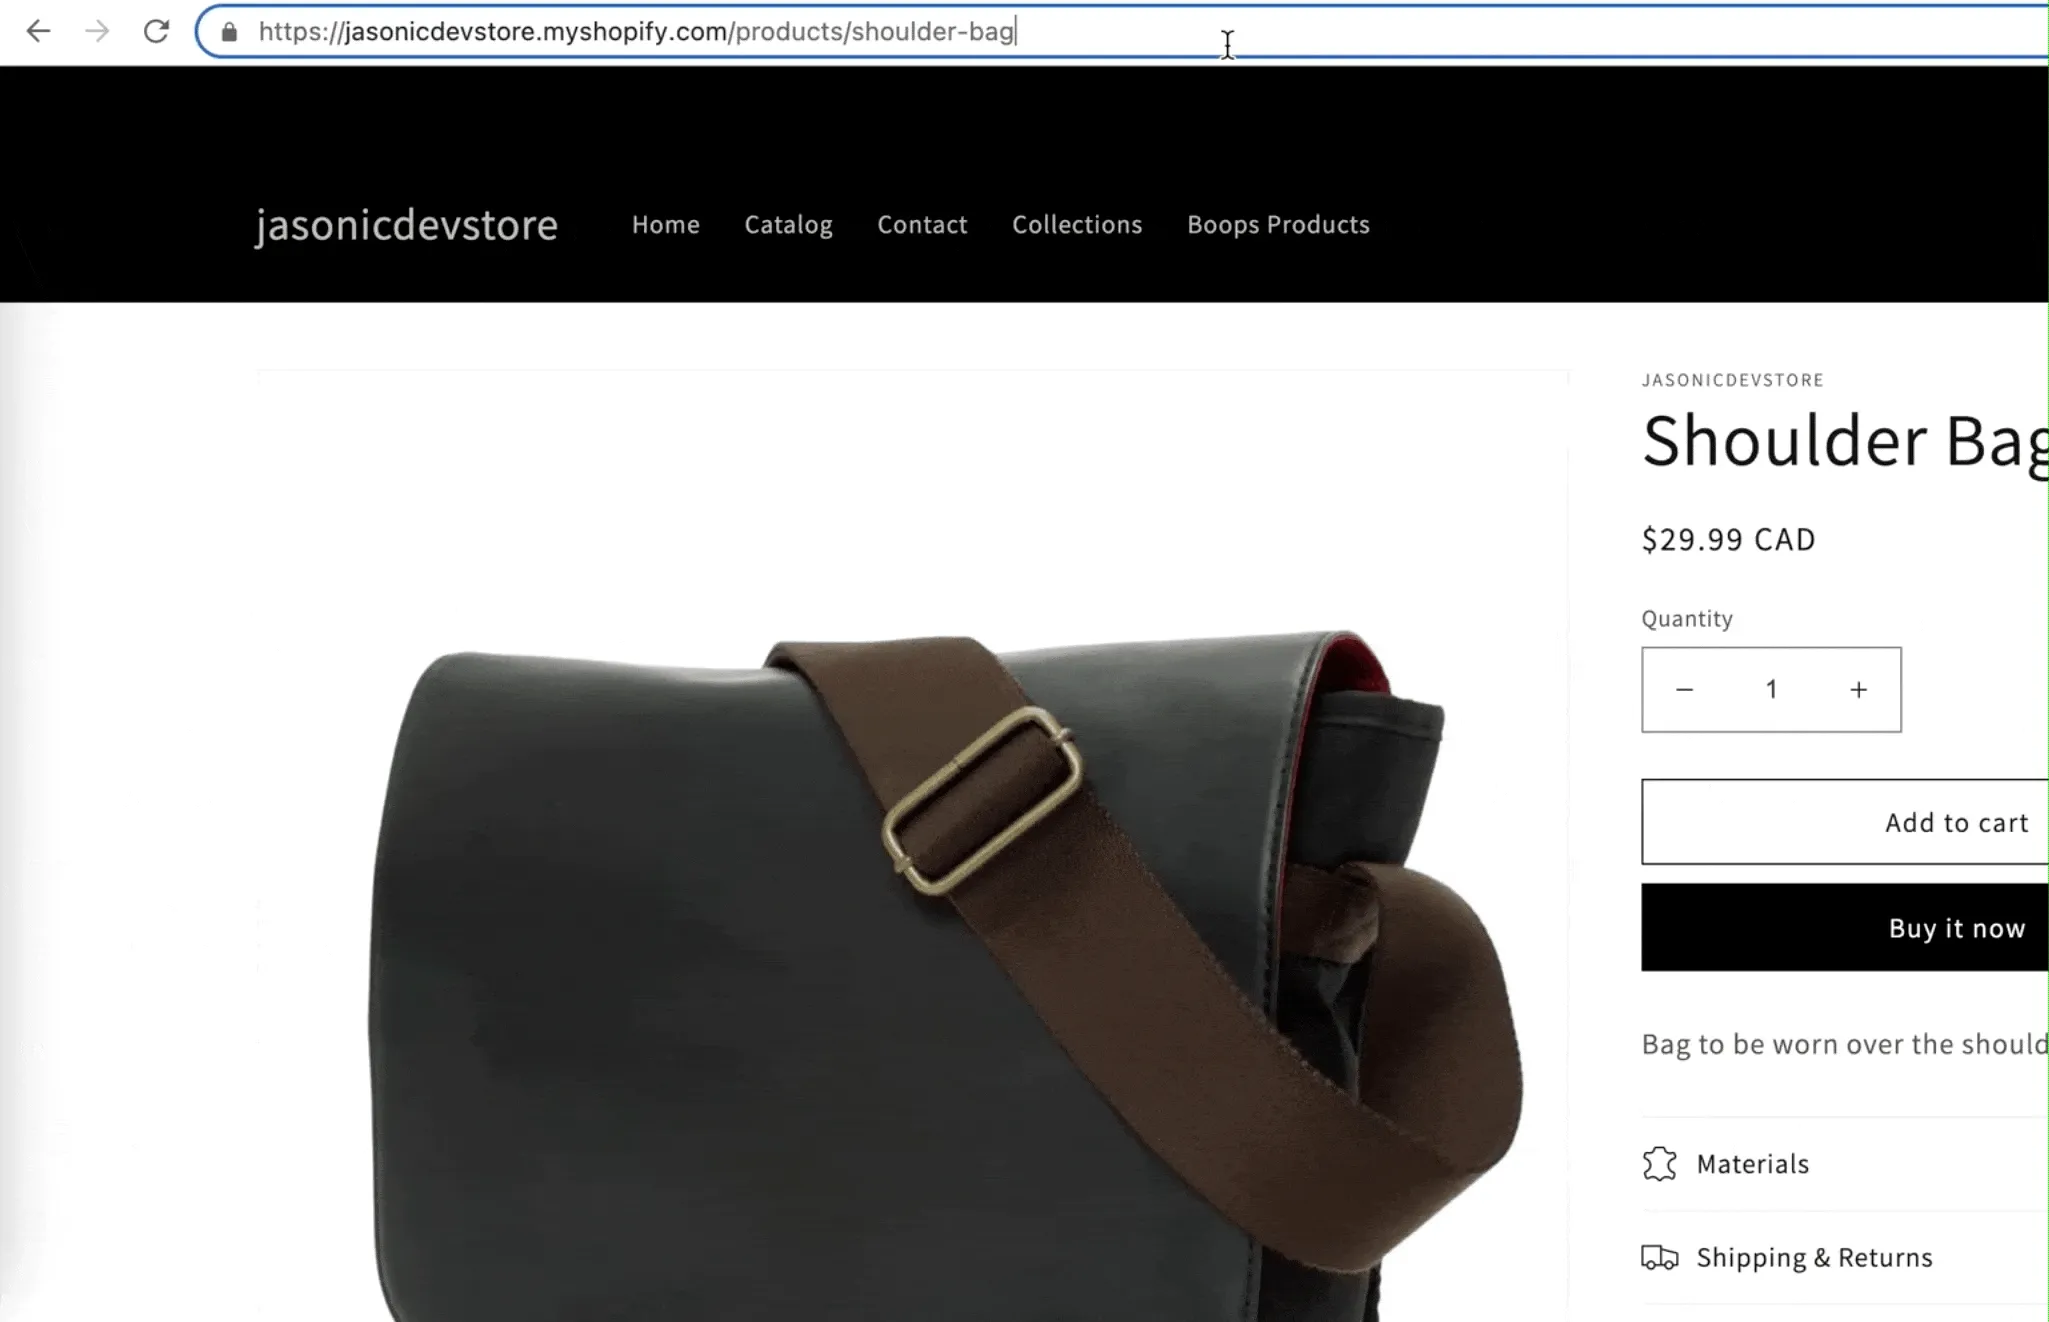
If you want the Shipping Bar to be displayed only on your store’s Product pages and not on other pages, you can select the “Product pages” option under the Display bar on:
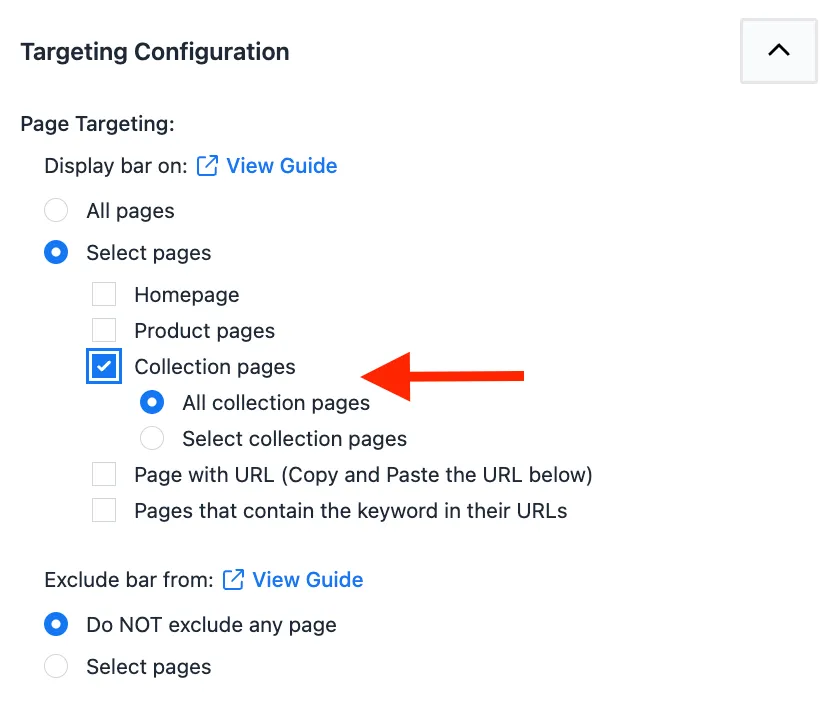
Collection Pages
If you want the Shipping Bar to be displayed only on your store’s collection pages and not on other pages, you can select the “Collection pages” option under the Display bar on:
Only on Page with URL
If you want the Shipping Bar to be displayed on a single unique page, you can enter the URL of that page here:
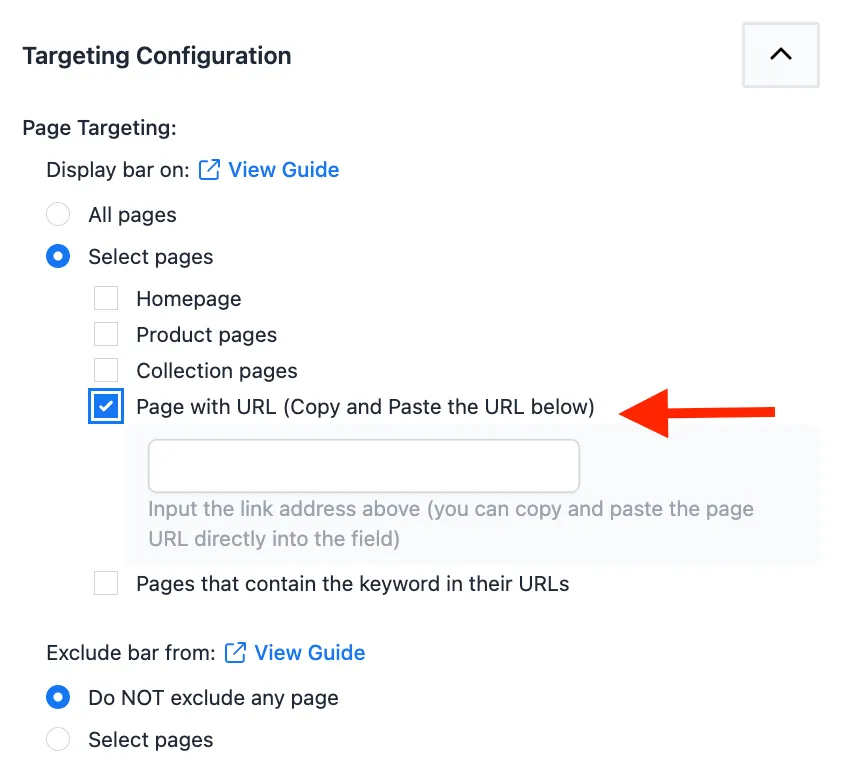
An easy way to do this is to head over to the page you want to target on your store, copy its URL, and then paste the URL in the textbox indicated above.
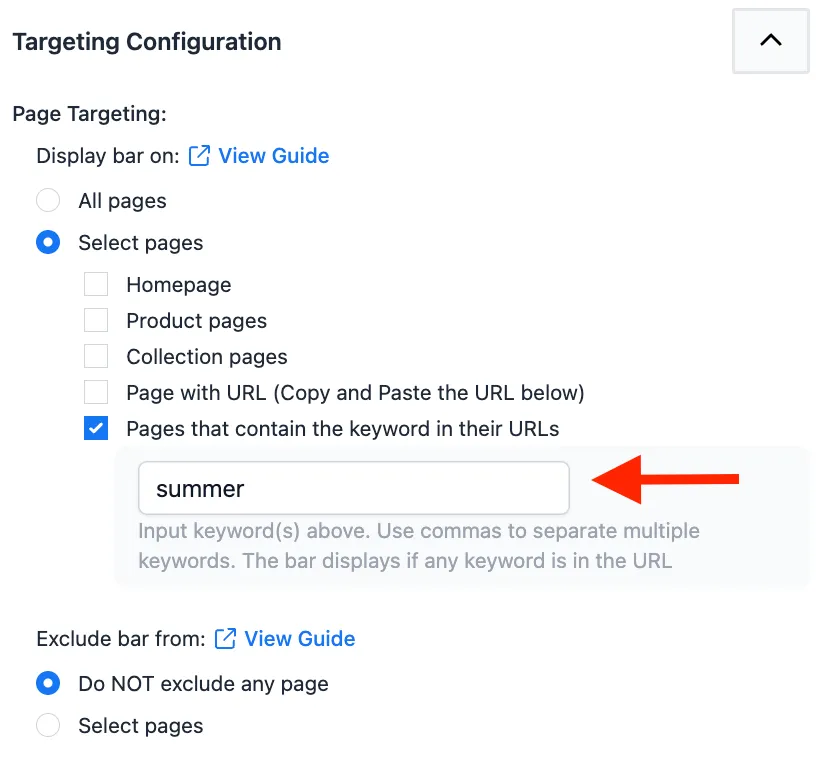
Only on pages that contain the keyword in their URLs
If you want to target multiple pages, you can use this keyword option instead. In this field you can enter keywords, and if any of these keywords appear in the URL when visiting a page, the bar will display.
Example #1:
If you want the bar to display on all pages with “summer” in the URLs, you would simply enter the keyword “summer”, like so:
This would result in the bar displaying on all three of these pages:
- www.example.myshopify.com/summer-shirt
- www.example.myshopify.com/summer-shoe
- www.example.myshopify.com/summer-trouser
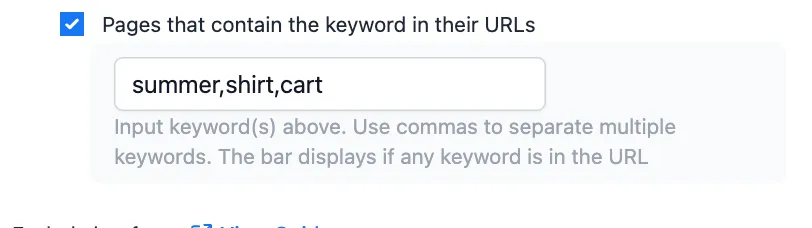
If “summer” is in any part of the URL, the bar will qualify to display on that page.
You can enter multiple keywords if you like. Simply separate them by a comma:
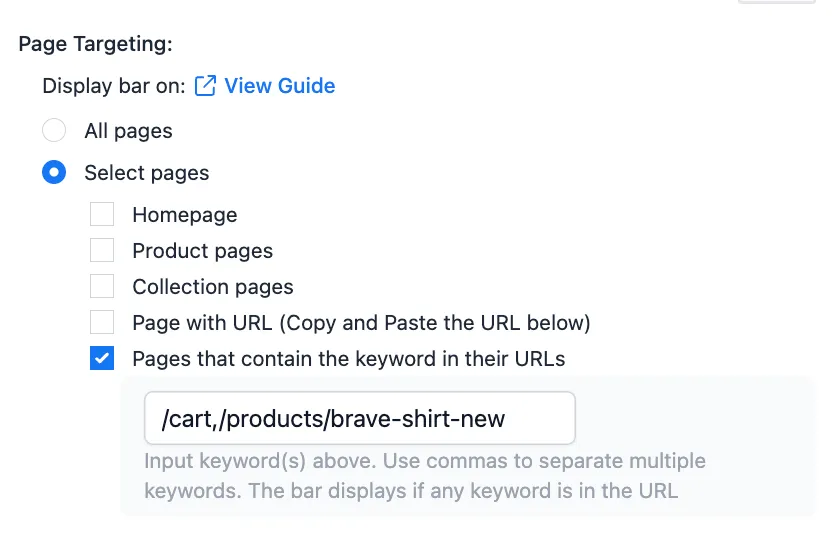
Example #2:
Going back to targeting unique pages, let’s say you want to display the Shipping Bar on only these two pages:
You would input the URL path for each page into the input field, and separate them by a comma. The path is the section after the .com, .ca, etc.
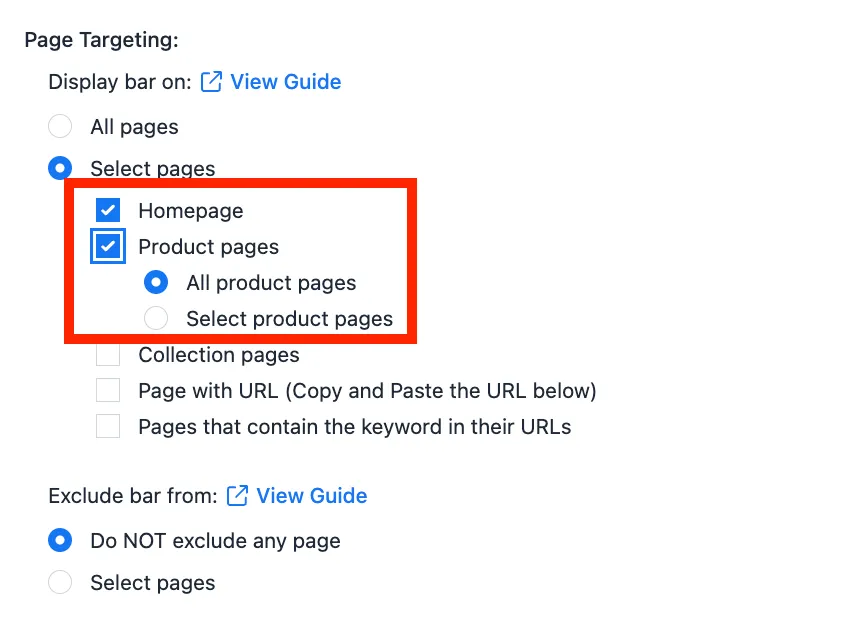
Multiple Targeting Options
You can also enable multiple targeting options at once. The Shipping bar will then display on all of the selected options. For example, the following targeting configuration would set the bar to display only on the homepage and product pages.
Exclusion
The Exclude from page(s) options work similarly, only it directs the app to not display the bar on these pages.
For example, to ensure the bar does not display on the homepage, you would set it like this:
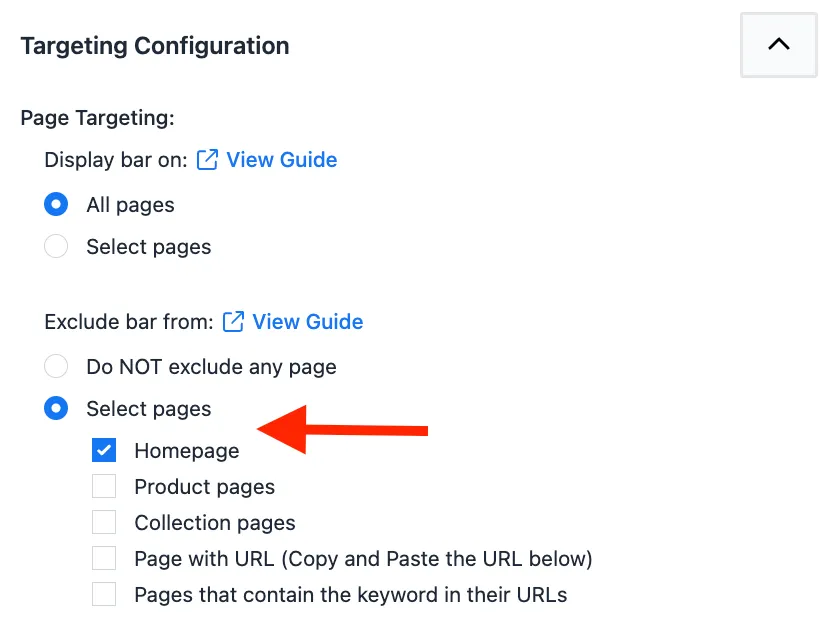
This will display the bar on all pages except the homepage. Follow the same logic for the remaining options.